|
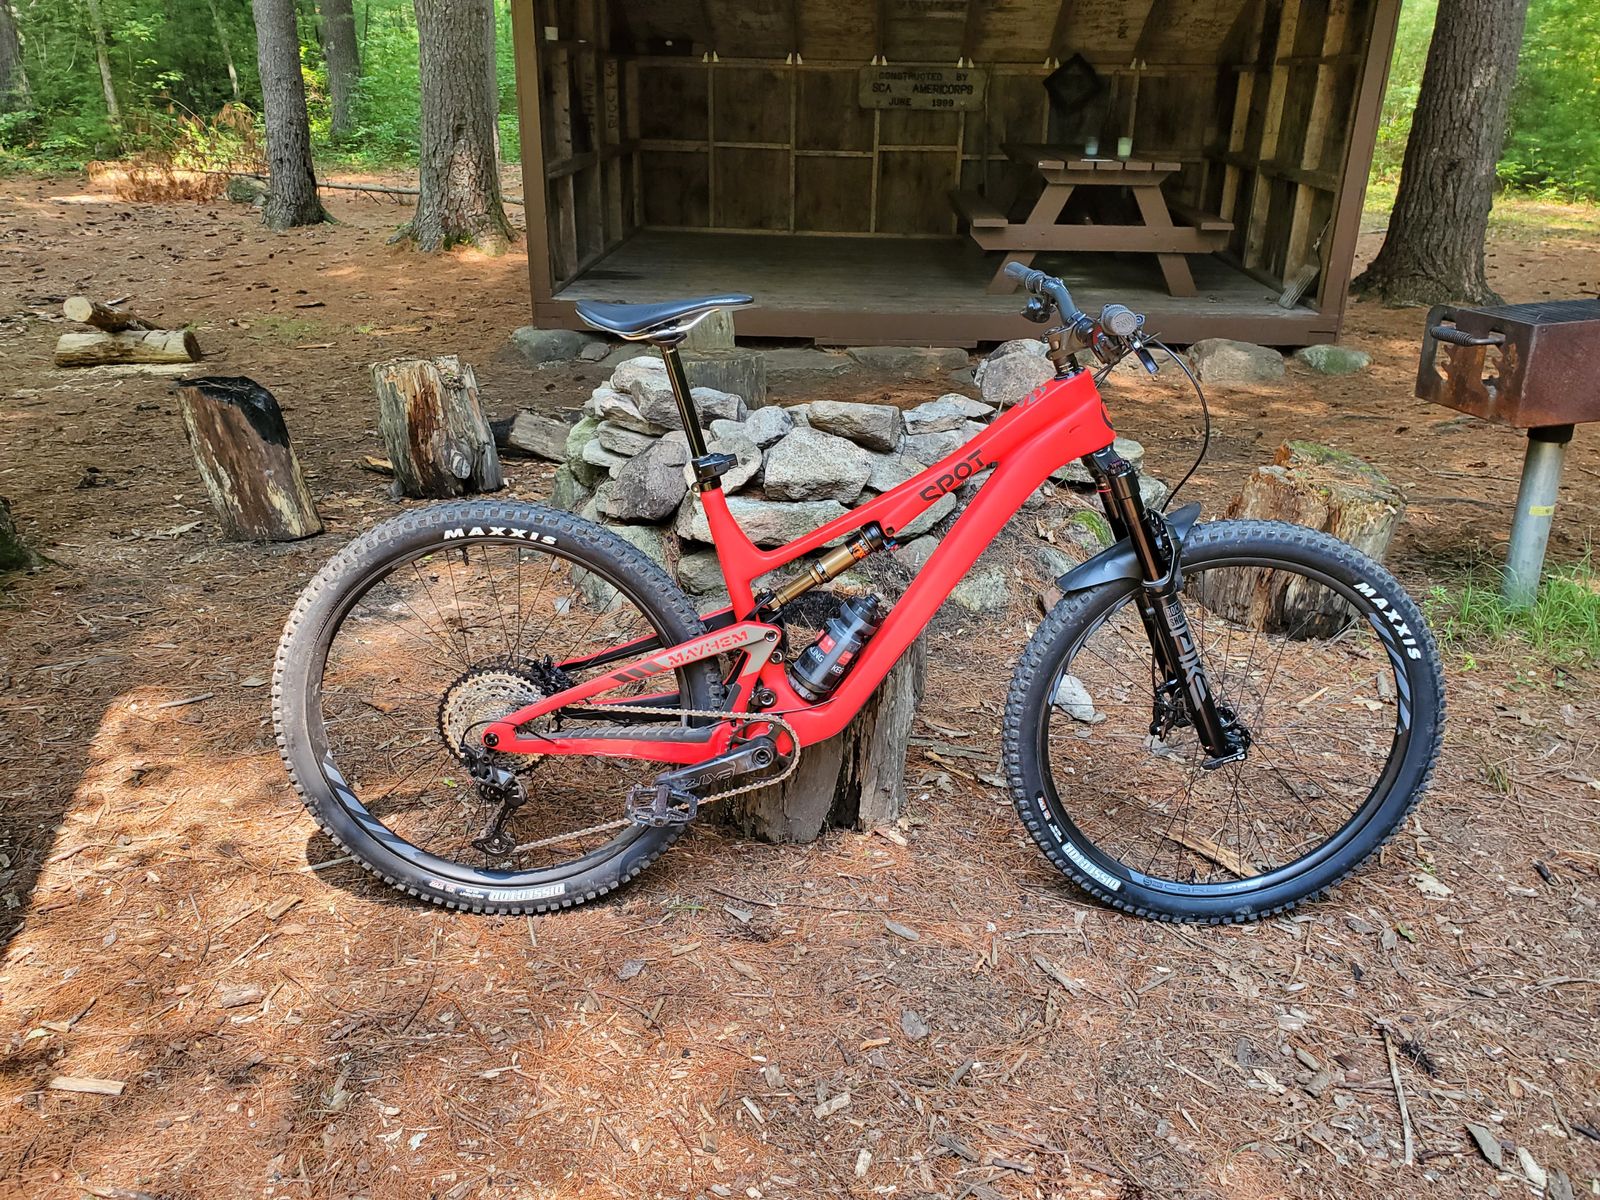
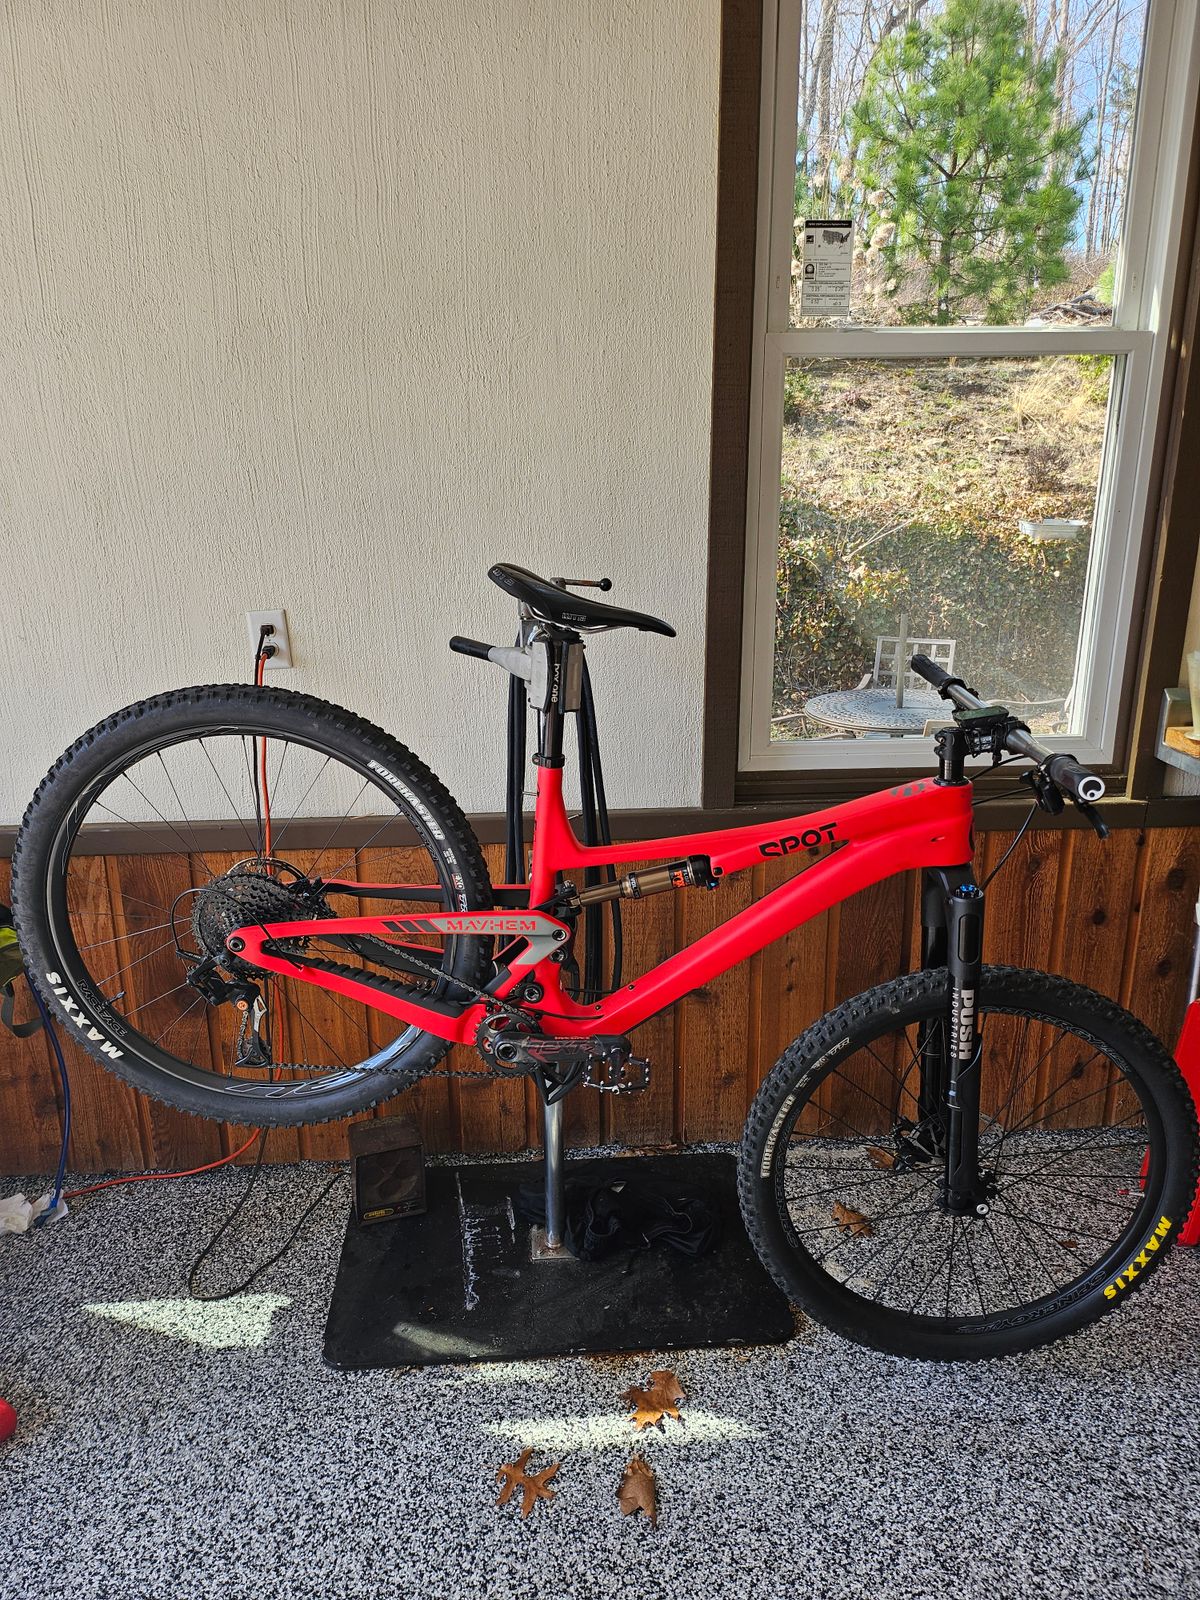
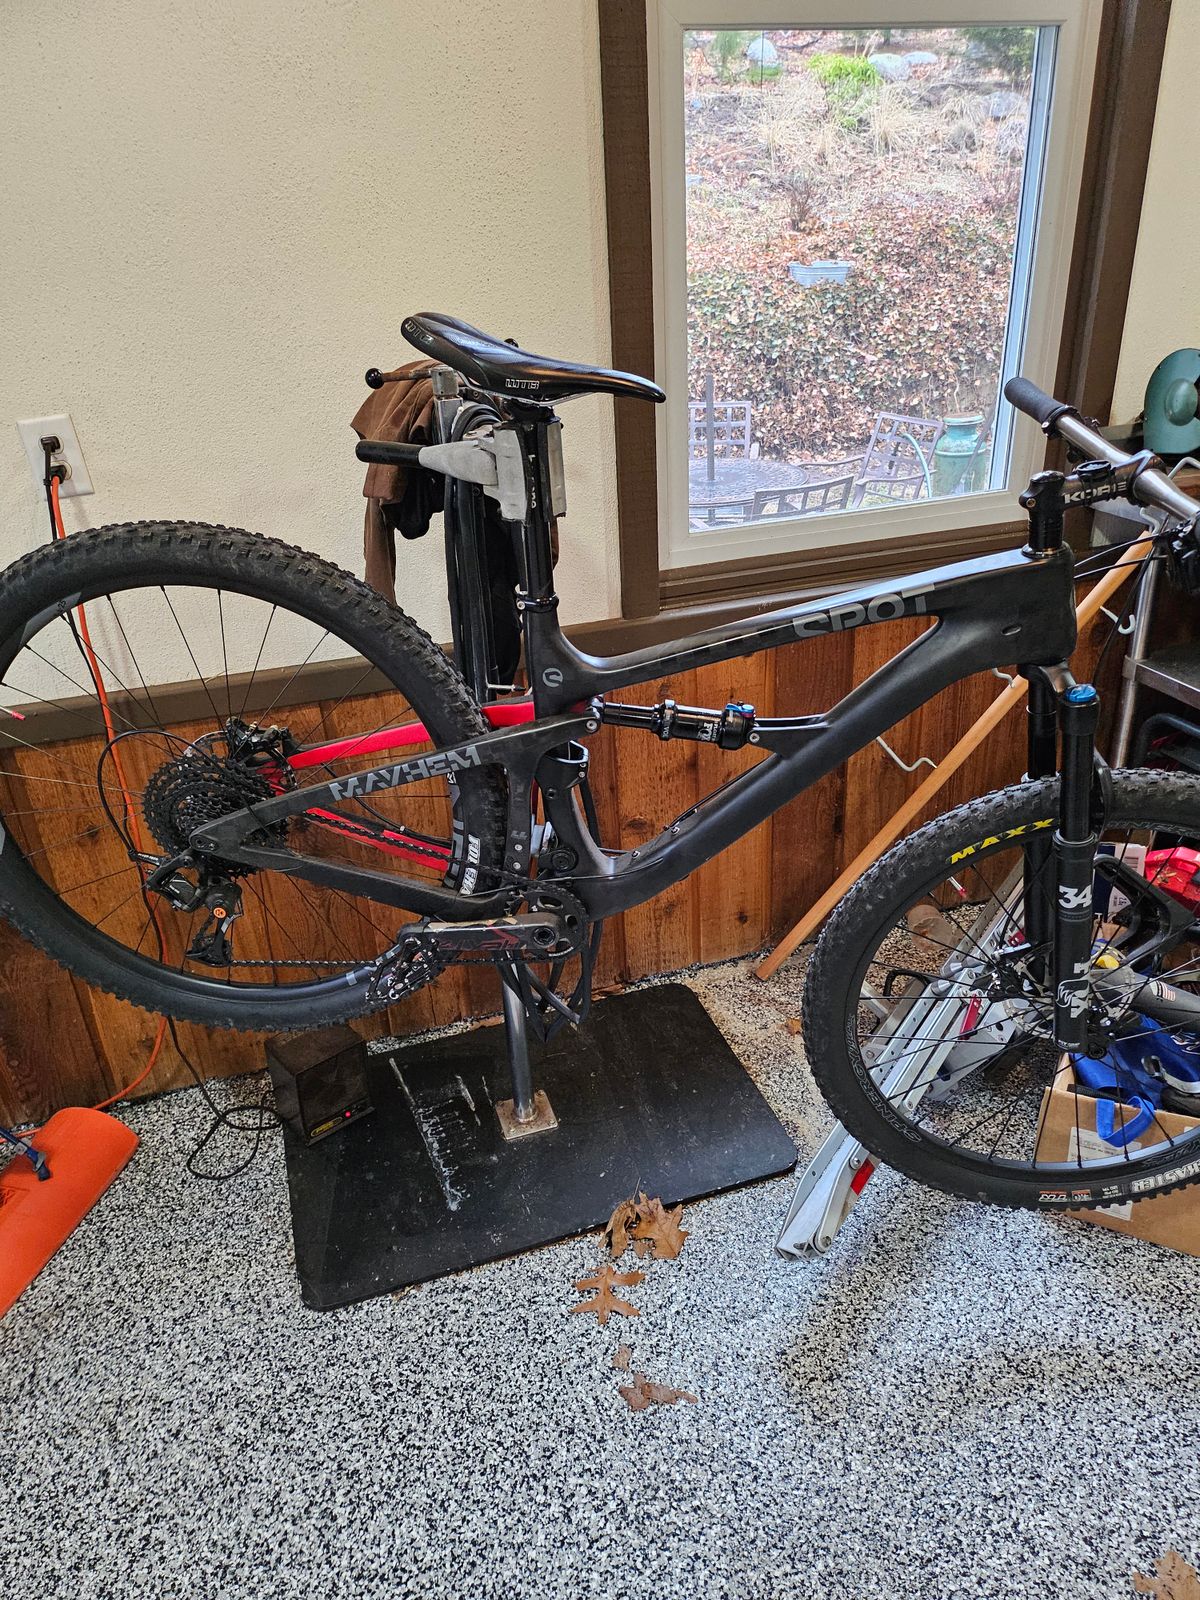
Frame |
Frame & Fork |
4-Star Build Level |
5-Star Build Level |
| Weight (lbs.) |
S: 7.0, M: 7.1, L: 7.2, XL: 7.4 |
S: 12.0, M: 12.1, L: 12.2, XL: 12.4 |
S: 29.8, M: 29.9, L: 30.0, XL: 30.2 |
S: 29.6., M: 29.7, L: 29.8, XL:30.0 |
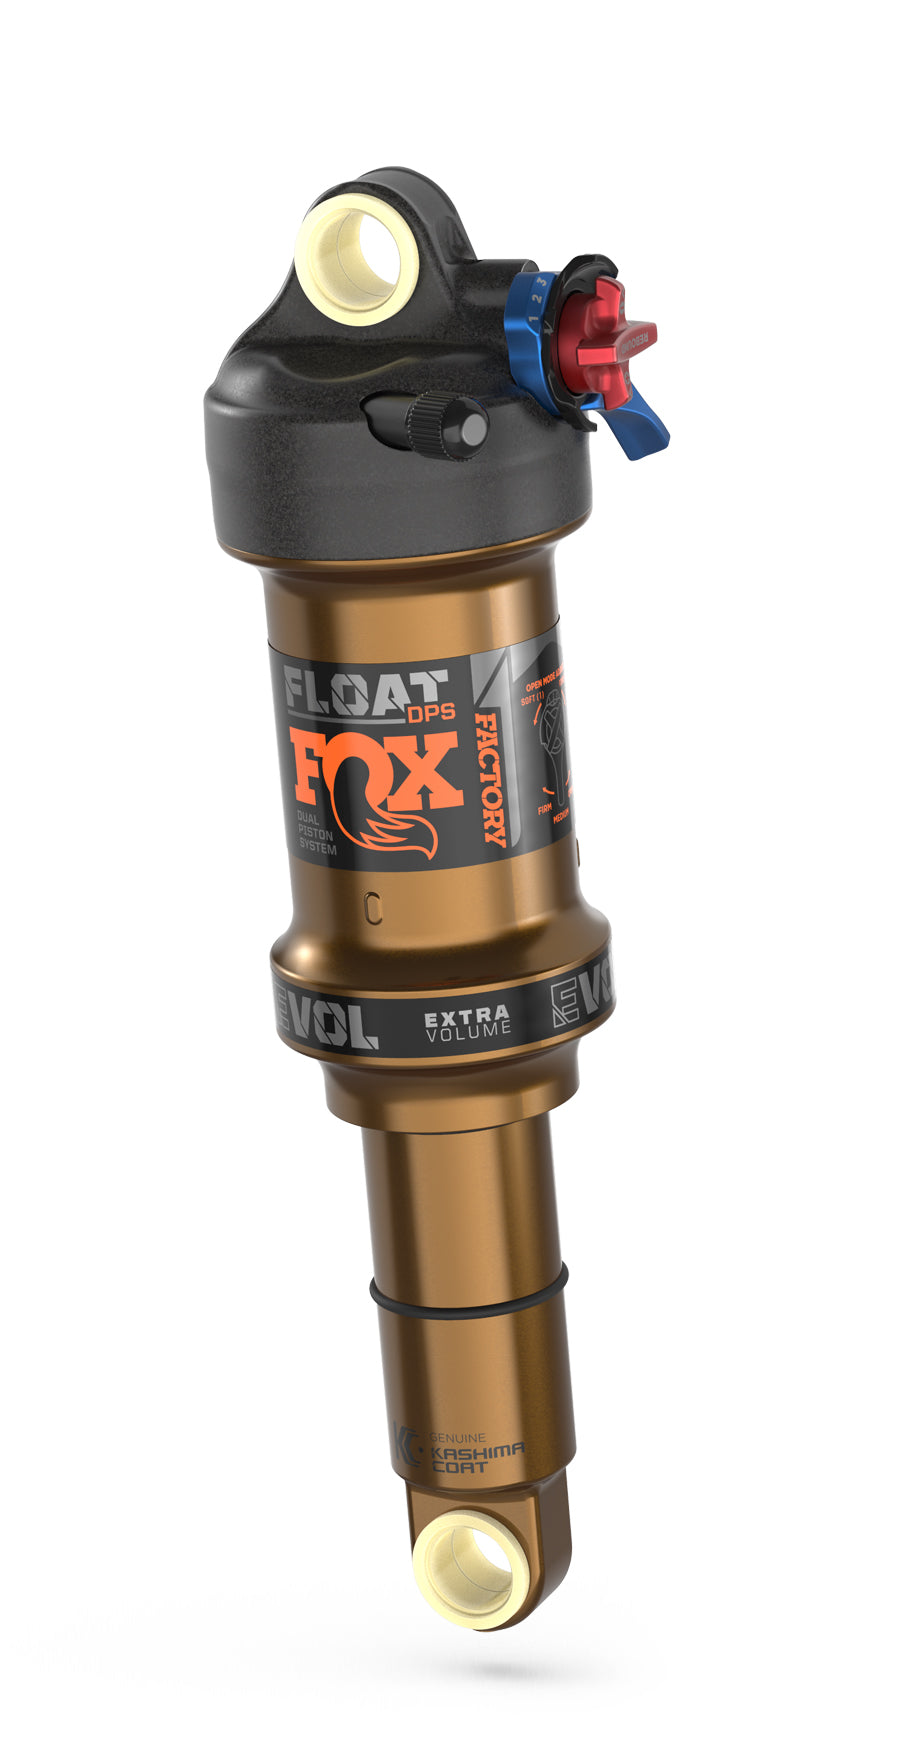
| Shock |
Fox Factory Float DPS EVOL LV, 3 Pos. Adj., 230x57.5 |
Fox Factory Float DPS EVOL LV, 3 Pos. Adj., 230x57.5 |
Fox Factory Float DPS EVOL LV, 3 Pos. Adj., 230x57.5 |
Fox Factory Float DPS EVOL LV, 3 Pos. Adj., 230x57.5 |
| Fork |
NA |
2026 Fox Factory 36 SL Grip X2 | 140mm Travel |
2026 Fox 36 SL Performance | GRIP Damper | 140mm Travel |
2026 Fox Factory 36 SL Grip X2 | 140mm Travel |
| Headset |
NA |
Cane Creek 40, ZS44/ZS56 ZS44 upper, ZS56 lower |
Cane Creek 40, ZS44/ZS56 ZS44 upper, ZS56 lower |
Cane Creek 40, ZS44/ZS56 ZS44 upper, ZS56 lower |
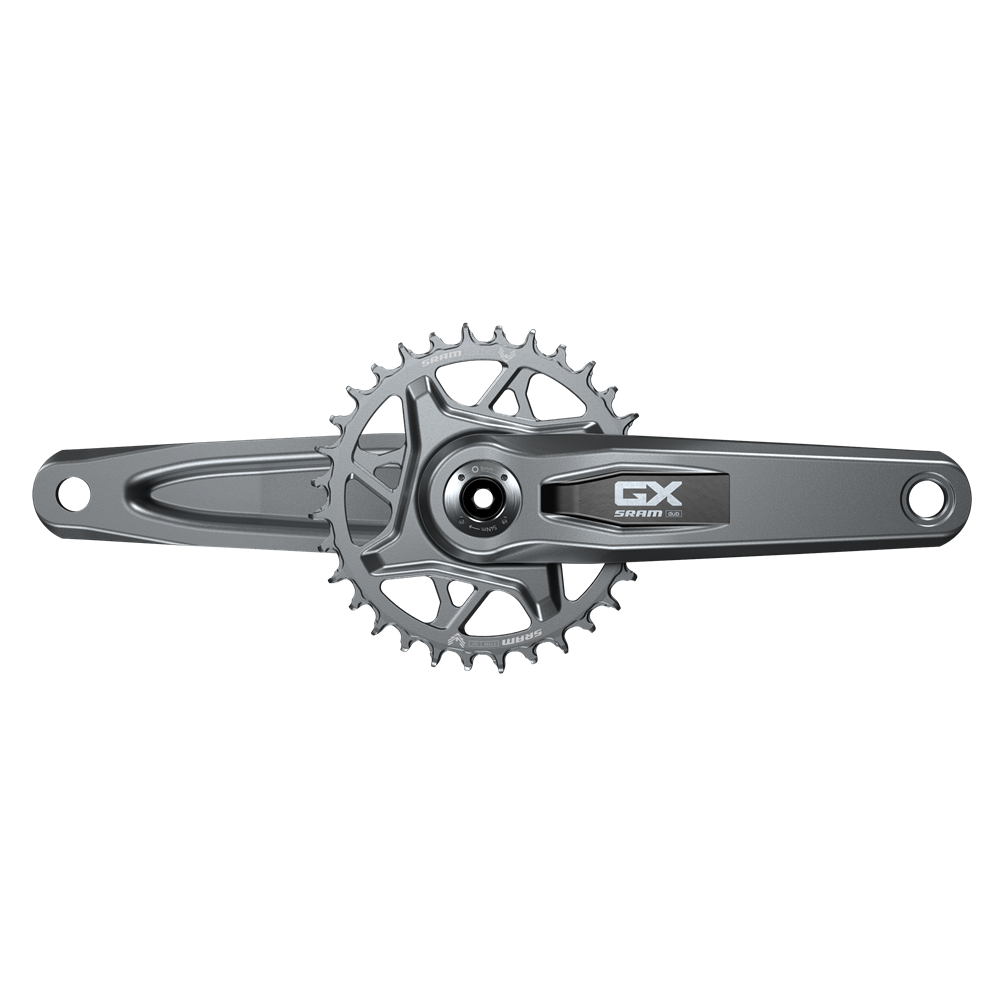
| Crankset |
NA |
NA |
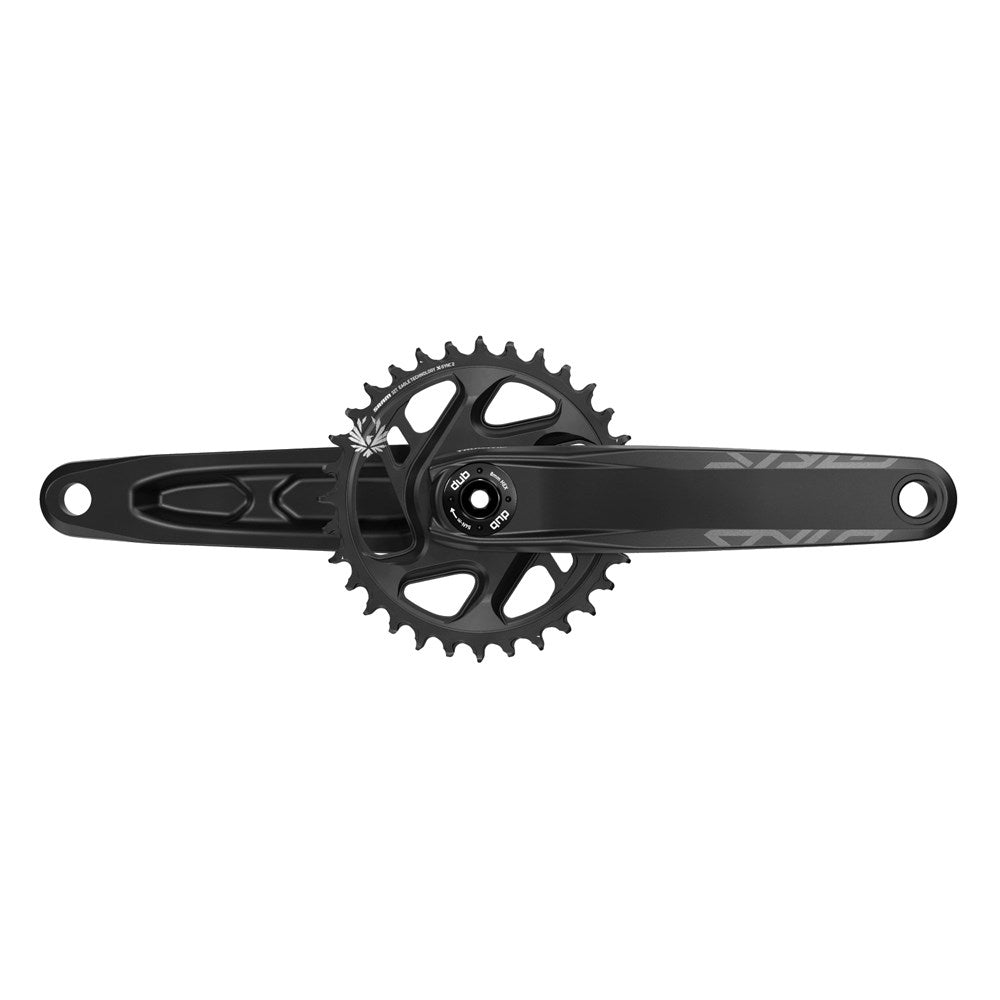
SRAM GX Eagle, B148, DUB, 170mm, 32t |
SRAM GX Eagle Transmission, B148, 170mm, 32t |
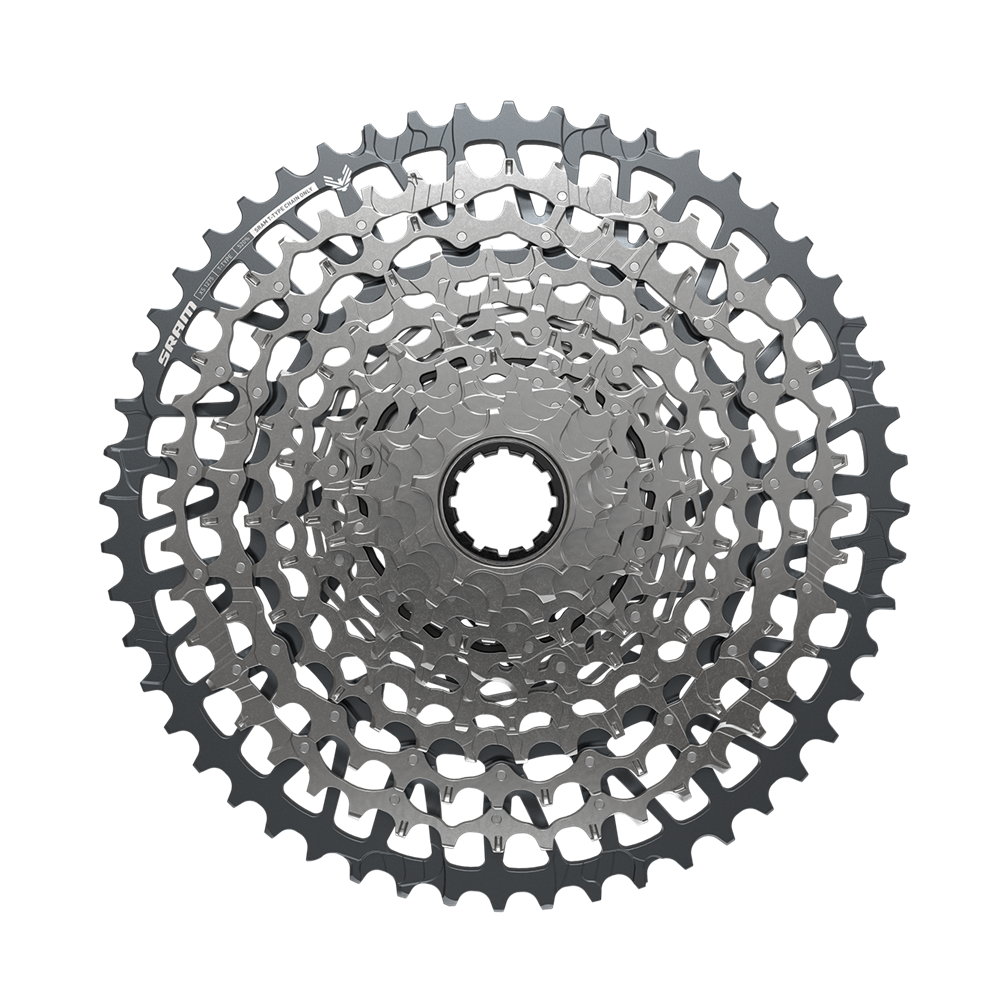
| Cassette |
NA |
NA |
SRAM XG1275, 12-speed, 10-52t |
SRAM GX Transmission 1275, 12-speed, 10-52t |
| Rear Derailleur |
NA |
NA |
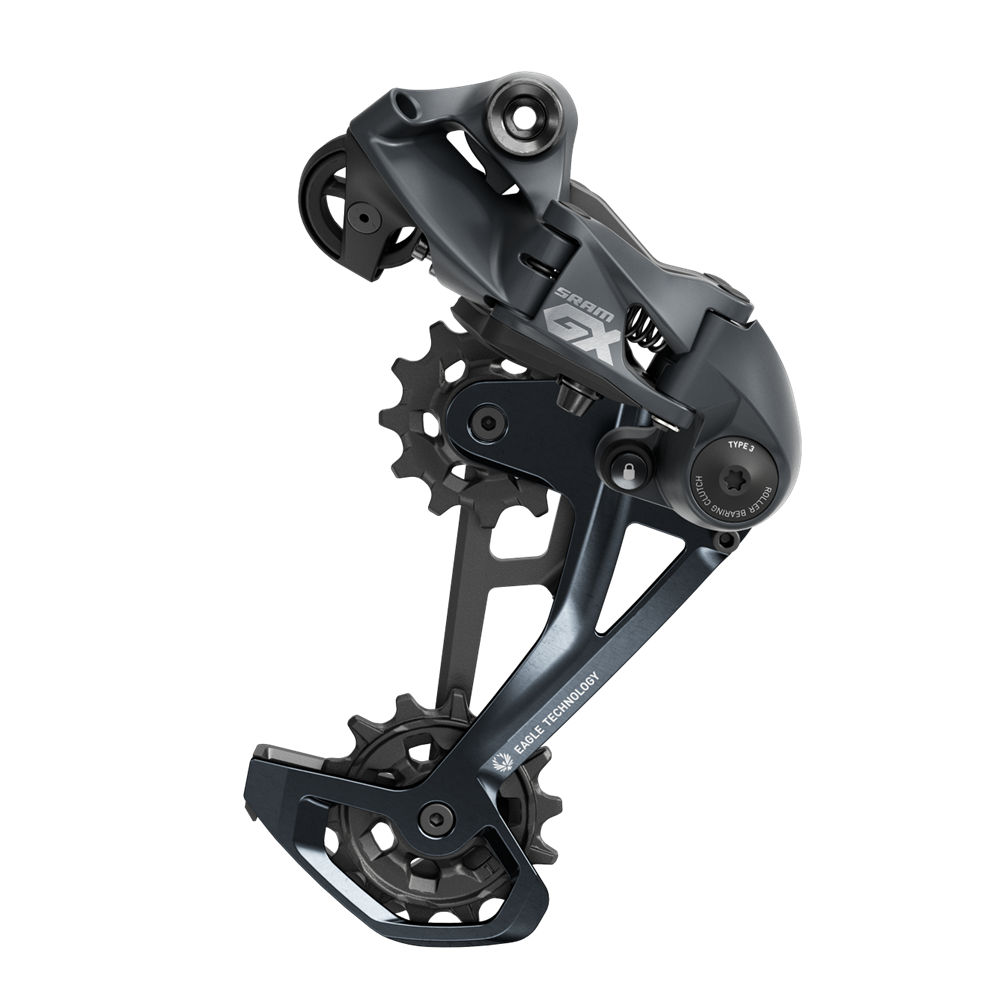
SRAM GX Eagle, 12-speed |
SRAM GX Eagle AXS Transmission, Wireless, Hangerless, 12-speed |
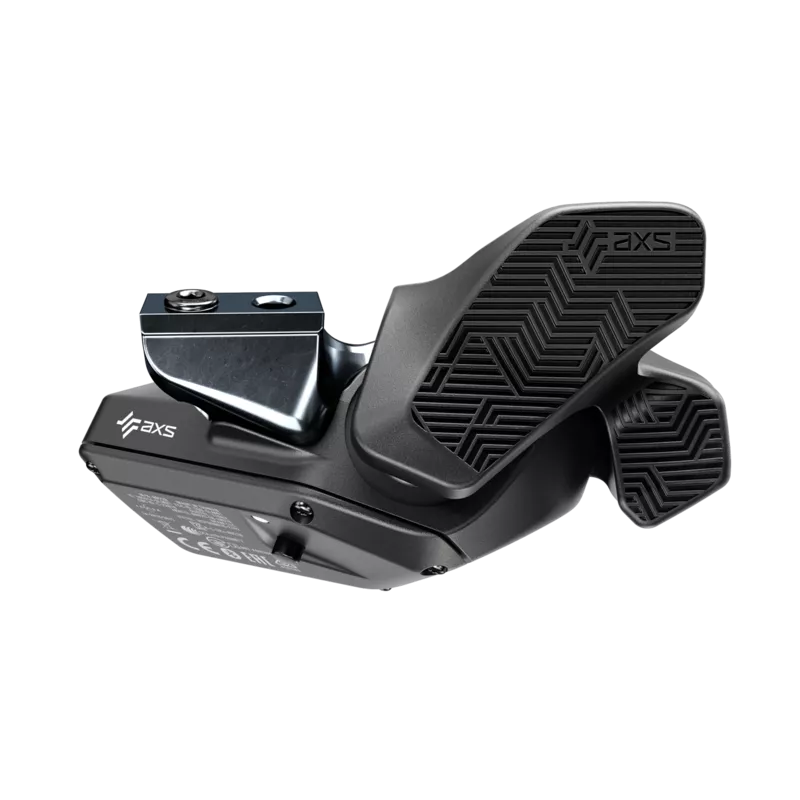
| Rear Shifter Lever |
NA |
NA |
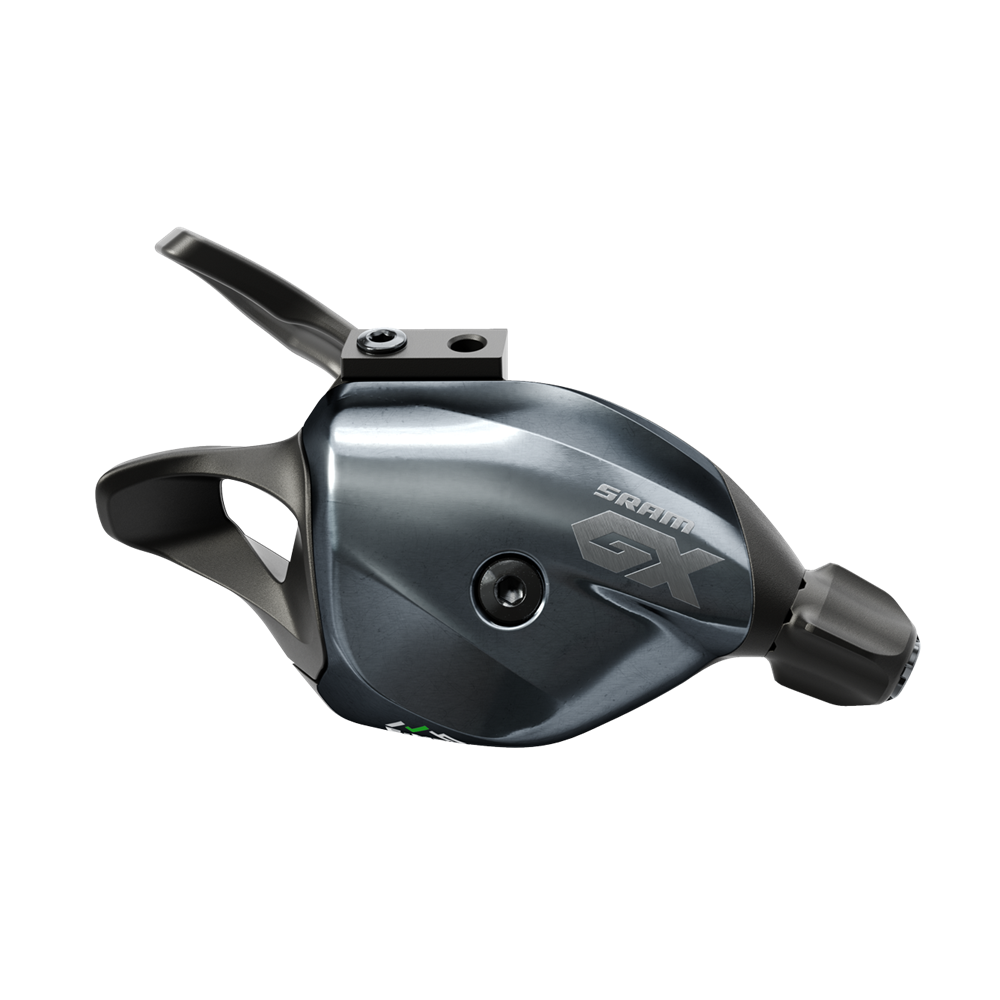
SRAM GX Eagle Lunar 12-speed, Trigger |
SRAM Eagle AXS Rocker Controller, 12-speed |
| Bottom Bracket |
NA |
NA |
SRAM DUB BSA 73mm threaded |
SRAM DUB BSA 73mm threaded |
| Front Brake |
NA |
NA |
SRAM G2 R, 200mm, 4-piston, Centerline, 6-bolt rotor |
SRAM Code Silver Stealth, 200mm, Centerline, 6-bolt rotor |
| Rear Brake |
NA |
NA |
SRAM G2 R, 4-piston, 180mm, Centerline, 6-bolt rotor |
SRAM Code Silver Stealth, 180mm, Centerline, 6-bolt rotor |
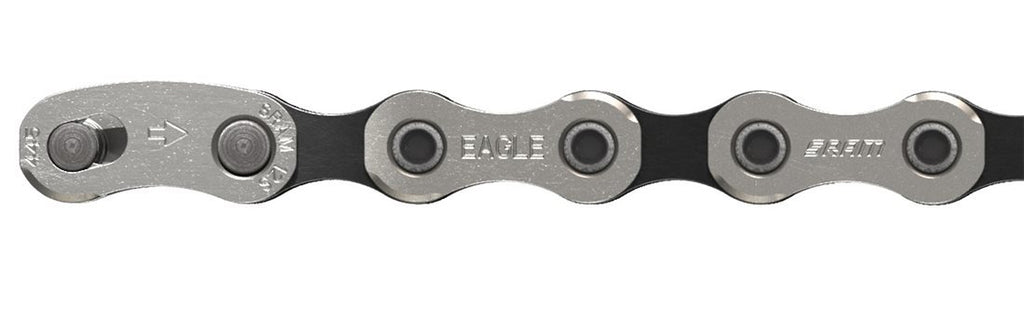
| Chain |
NA |
NA |
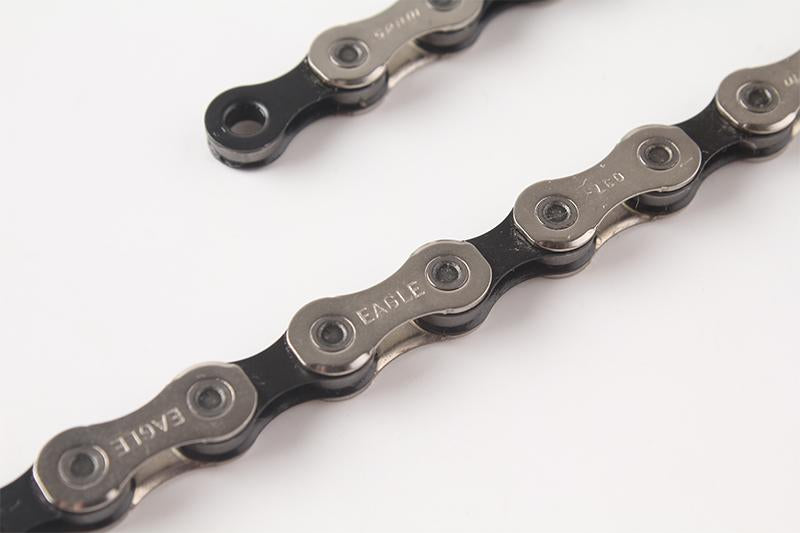
SRAM GX Eagle |
SRAM GX Eagle, Flattop, Silver |
| Front Wheel |
NA |
NA |
DT Swiss | M 1900 | 15x110 | Tubeless | 6-Bolt |
DT Swiss | XM 1700 SPLINE | 15x110 | 29” | 6-Bolt |
| Rear Wheel |
NA |
NA |
DT Swiss | M 1900 | Tubeless | Boost 12x148 | XD | 6-bolt |
DT Swiss | XM 1700 SPLINE | 12x148 | 29” | XD | 6-Bolt
|
| Front Tire |
NA |
NA |
Continental Kryptotal | 29x2.4 | Trail Casing | Endurance Compound |
Continental Kryptotal | 29x2.4 | Trail Casing | Endurance Compound |
| Rear Tire |
NA |
NA |
Continental Xynotal | 29x2.4 | Trail Casing | Endurance Compound |
Continental Xynotal | 29x2.4 | Trail Casing | Endurance Compound |
| Stem |
NA |
NA |
Race Face Aeffect, 35 x 40mm |
Race Face Turbine R, 35 x 40mm |
| Handlebar |
NA |
NA |
Race Face Aeffect R, 35mm, XL/LG/MD 780mm, SM 760mm, 20mm rise, Alloy |
OneUp, 35mm, XL/LG 800mm, MD 780mm, SM 760mm, 20mm rise, Carbon |
| Grips |
NA |
NA |
Spot Lock-On |
Spot Lock-On |
| Seat Post |
NA |
NA |
BikeYoke Revive 185mm for XL and Large, 160mm for Medium, 125mm for Small, Internal, 31.6 |
BikeYoke Revive 185mm for XL and Large, 160mm for Medium, 125mm for Small, Internal, 31.6 |
| Saddle |
NA |
NA |
SDG Bel-Air V3 |
SDG Bel-Air V3 |